Hello Flutter developers, in this article, we are going to learn how to use custom colors using Material 3 (M3). Since M3 was announced, people have started asking many questions regarding it because there is not that good documentation or explanation of how to use specific cases like Extended Colors. Gladly, I’m writing this article to guide you step by step on how can we implement custom colors in Flutter using Material 3. So, without further ado, let’s begin.
Table of Contents
Step 1: Enable Material 3 in your project and set colors (Optional)
Before we begin, let’s make sure that you have enabled Material 3 in your project properly. This will ensure that you can actually use custom colors in your project. In addition, we will use custom colors which will be a seed for our colors.
I have created a new blank project using Flutter, and I will use a Theme directly in main.dart file.
Note: Depending on your current project structure, you can do this in the place where you identify ThemeData().
To enable Material 3 in your flutter project, set useMaterial3: true inside your ThemeData().
ThemeData(
  ....
  useMaterial3: true,
),
Awesome! Now, let’s move on and add our custom seed color. Just by declaring one seed color, we can generate whole material 3 style that we can use within our project design.
Now, to do a seeding color, all we need is to add ColorScheme.fromSeed to our colorScheme parameter. I will use a custom dark pink color: #0xFF6C4F64 to make my style from seed color. Just in case, to learn more about how to use hex color in a flutter, you can read my previous article. Anyway, here is the code below
ThemeData(
  ...
  useMaterial3: true,
  colorScheme: ColorScheme.fromSeed(
    seedColor: const Color(0xFF6C4F64),
  ),
),
The result you should see like that:
Step 2: Generate Custom Color M3
In this step, we will generate a custom Material 3 Colors that will allow you to use it anywhere in the Flutter project.
To do so, go to the Material Theme Builder website first, and let’s generate our custom theme including custom (extended) colors.
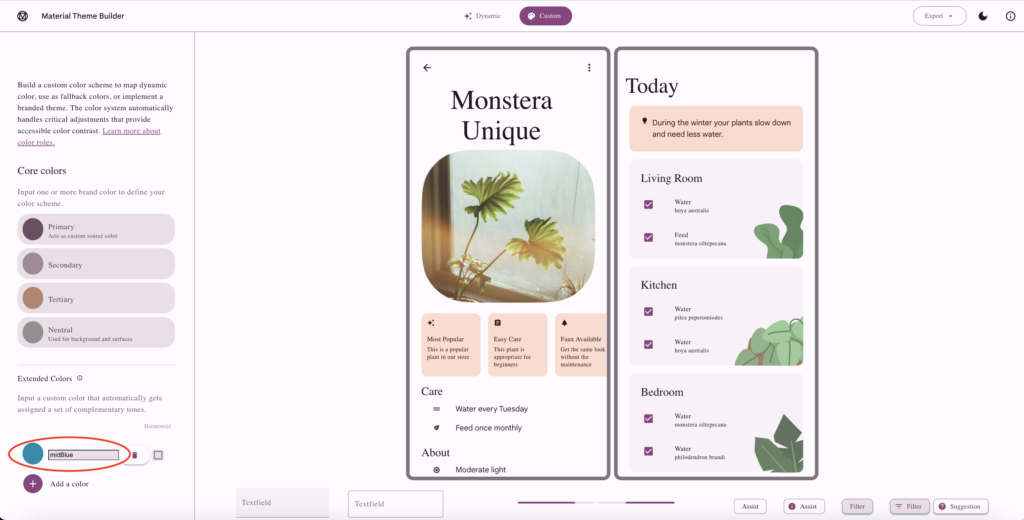
On the webpage, scroll down where it says Extended Colors and click on Add a color.
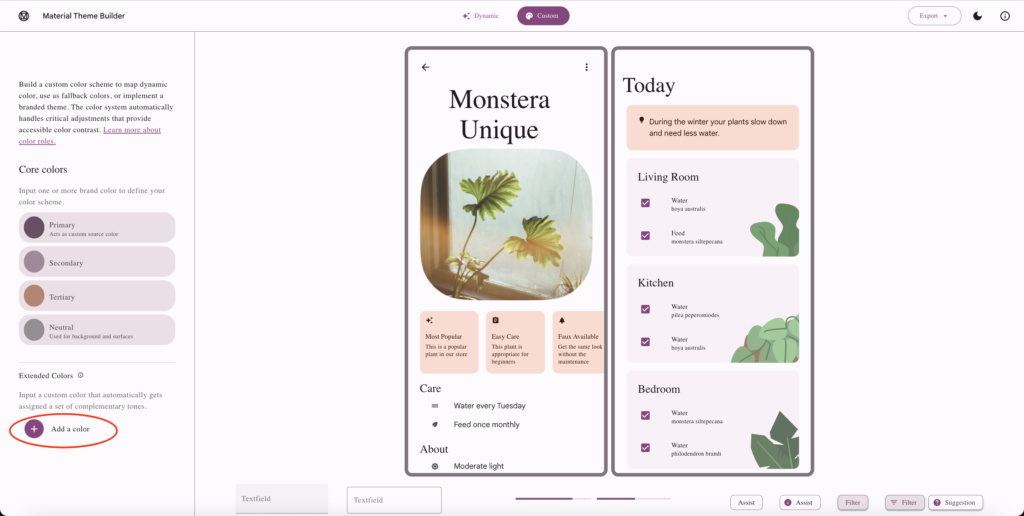
Next, pick any custom colors that you would like to use in the project. In my case, it will be a Mid-Blue. Then, name an extended color however you like. In my case, I will name it midBlue.
Note: It’s better to name with a specific color name since later it will be generated as onMidBlue, onMidBlueContainer, etc.
This is a result
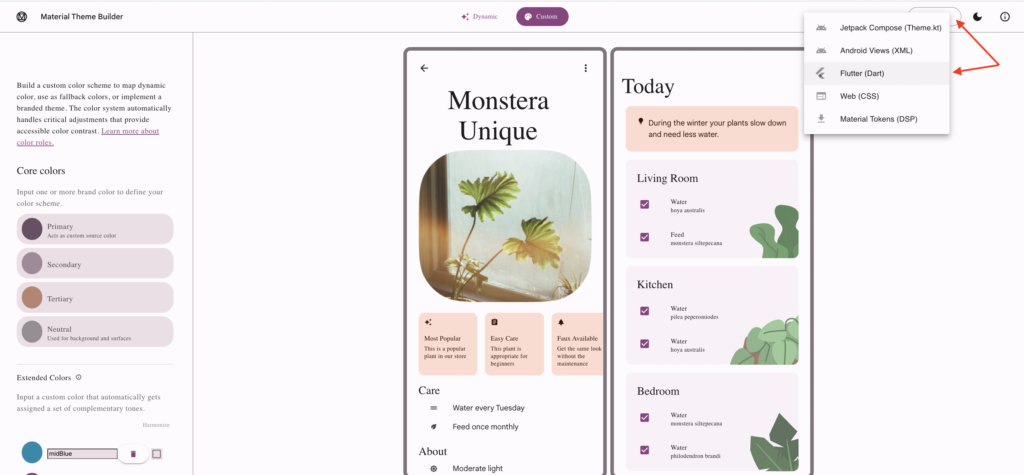
The last step is to export our custom theme to dart code and integrate it into our project.
So, on the right top corner, click Export and Flutter (Dart). You will download a zip folder that contains three files:
- color_schemes.g.dart
- custom_color.g.dart
- main.g.dart
Step 3: Integrate a Custom Theme&Colors into the Flutter Project
Now, in this step, we will integrate the previously downloaded folder into our project. For simplicity, we will only need is custom_color.g.dart.
- Place custom_color.g.dart into the lib folder
- Remove import ‘package:dynamic_color/dynamic_color.dart’; since in this article, we are not going to use it.
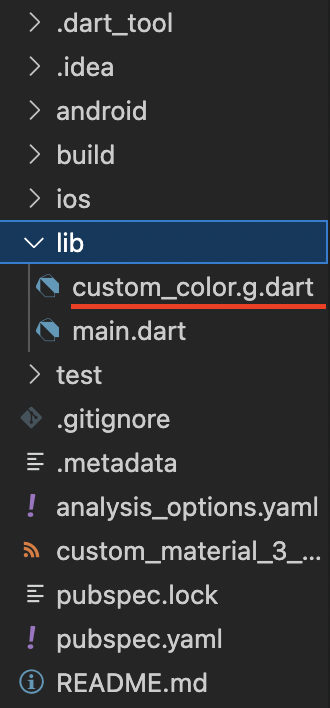
Awesome! If we now view our custom_color.g.dart file we will see that we have lightCustomColors and darkCustomColors. These are the extended custom colors that we are going to use.
So, go to the main.dart file, and let’s instantiate our custom colors in our ThemeData().
In ColorScheme.fromSeed() add brightness: Brightness.light since it will be our light theme, and add extensions: [lightCustomColors]
Note: Make sure to import ‘custom_color.g.dart’; in main.dart file
ThemeData(
  ...
  useMaterial3: true,
  colorScheme: ColorScheme.fromSeed(
    seedColor: const Color(0xFF6C4F64),
    brightness: Brightness.light,
  ),
  extensions: [lightCustomColors],
),
The code above will ensure that we have properly instantiated our custom extensions’ color in our flutter project.
That’s great! Now you can restart a project just to make sure that everything will be updated.
Step 4: How to Use Custom Colors?
Lastly, the main question you probably want to find an answer to is How to Use Custom Colors? after all the setups that we did in previous steps. The answer is simple.
Use Theme.of(context).extension(). In our example, we have created earlier a mid-blue custom color so this is how we would use it.
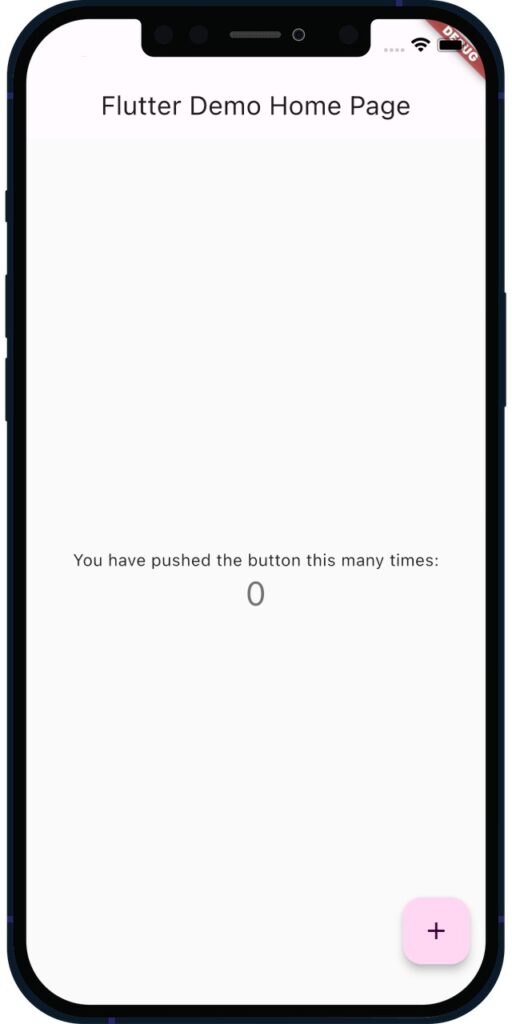
Theme.of(context).extension<CustomColors>()!.midblueNow, we can use it in our floatingActionButton as a background color (as an example).
floatingActionButton: FloatingActionButton(
  onPressed: _incrementCounter,
  tooltip: 'Increment',
  backgroundColor: Theme.of(context).extension<CustomColors>()!.midblue,
  child: const Icon(Icons.add),
),
And the result will be like that:

That’s pretty much it! I hope I helped you with this article.
You can always support our content! Join our community: Patreon